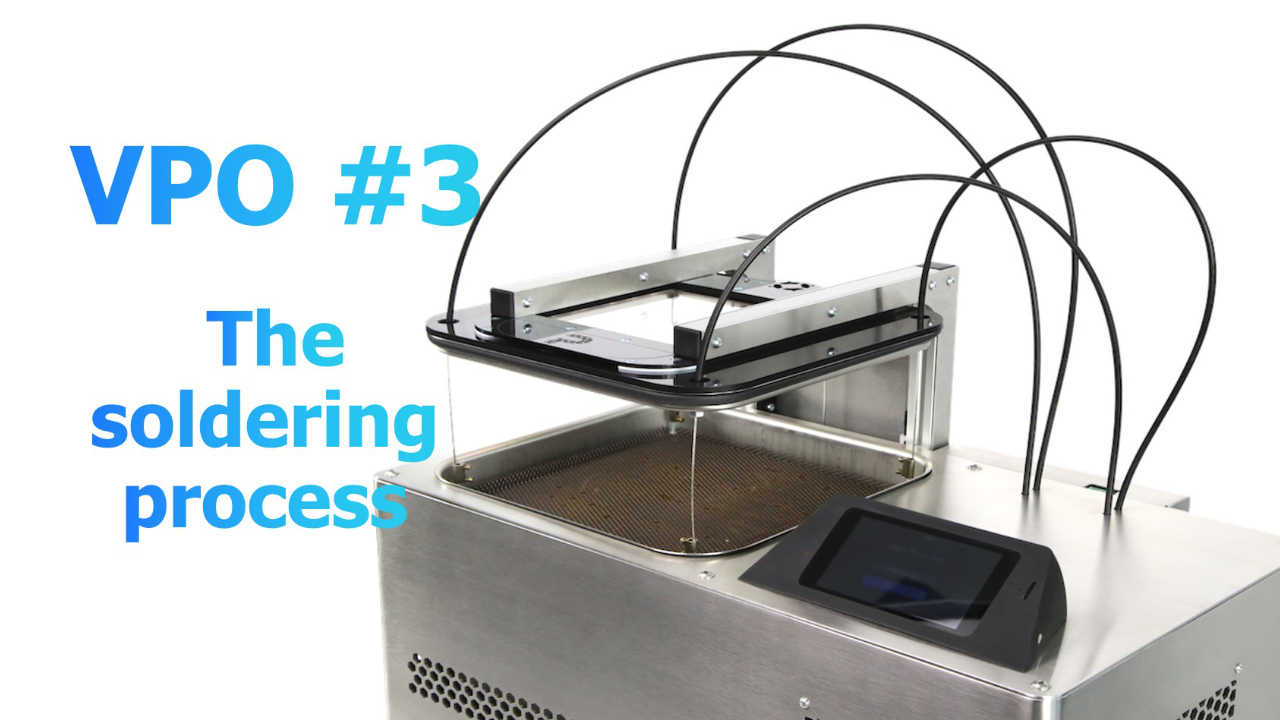
Setting the soldering profile and insert the PCB
First, the temperature profil is transmitted to the VPO via SD-card. Learn more in tutorial 1. Then the PCB can be placed on the lift.
Preheating of the system 4 min.
The heating is switched on and the Galden inside the system is getting warmed up. The lift with the assembled platine now sets the temperature of the PCB to the first temperature in the soldering profile. The lift goes down and subsequently up to increase the distance to the Galden in order to maintain the right temperature. At the beginning the lower parts of the process chamber is higher in temperature, because of a light Galden vapor. The PCB is now in the vapor, which is heating the cicuit board evenly. In this process oxygen is almost completely displaced, this prevents oxidation on the assembly.
Starting from 222°C Galden temperature the preheating stops and the system is ready for the next phase. If several soldering processes are performed successively this time period is shorter. This is because after a completed process there is still a Galden temperature of at least 70°C remaining.
Ramp-up and Soak 3 min. (depending on profile)
Through the heating control and the height of the lift the temperature on the assembly is adjusted exactly to 2-3°C. Especially for lower temperature areas the use of the heaters is crucial. Every second the new temperature is interpolated between two temperatures defined in the soldering profile.
Maximum energy supply 4 min. (depending on profile)
Now the heater give full throttle, this phase starts at 140°C. The heating control is deactivated and the maximum heat output of 1kW is transferred to the Galden. The Galden LS230 used here boils at exactly 230°C, which also corresponds to the maximum soldering temperature that can be achieved. This phase ends when the soldering profile has been completed.
Quick Cool and Anti-condensation mode (10-15 min.)
When the temperature profile has been completed the Quick Cool Phase is automatically activated. For safety reasons, the VPO cannot be opened during the cooling process. Four powerfull fans ensure that the temperature drops quickly and the waiting time between cycles can be shortened.
The board temperature is initially kept constant at 120°C. To prevent the condensation of Galden on the assembly is the aim of this anti-condensation mode used here. The cooling Galden, which becomes liquid again, does not condense on the PCB, but flows back into the reservoir. This reduces the consumption of Galden significantly and the soldered PCB can be removed dry from the VPO.
"Open Temperature" has been reached
The display can be used to choose between three different modes that decide how the cooling process takes place. Also each mode sets a temperature at which the VPO can be opened and the PCB can be removed.
- Eco || 70°C || 15 min.
- Standard || 80°C || 12 min.
- Fast || 90°C || 10 min.
The lower the temperature selected, the lower the Galden consumption. However, the waiting time between individual soldering cycles is extended by up to five minutes.


