
Scope of delivery and initial start-up
This tutorial explains how the initial startup of the Vapor Phase One works properly. In addition, the tools that are included will be shown.
Scope of delivery
The Vapor Phase One is shipped in a double-walled box, which contains the Vapor Phase One and a tools box. In the box is a suitable power cord for your country (EU or US - plug), an SD card, an SD card adapter, a pair of cotton gloves for the proper handling of the assemblies, a funnel to fill the water tank, an injection syringe to remove the soldering medium from the process chamber, a brush to clean the process chamber and a Torx© key with spare screws for the hose cover of the Vapor Phase One.
Set-up location for the Vapor Phase One.
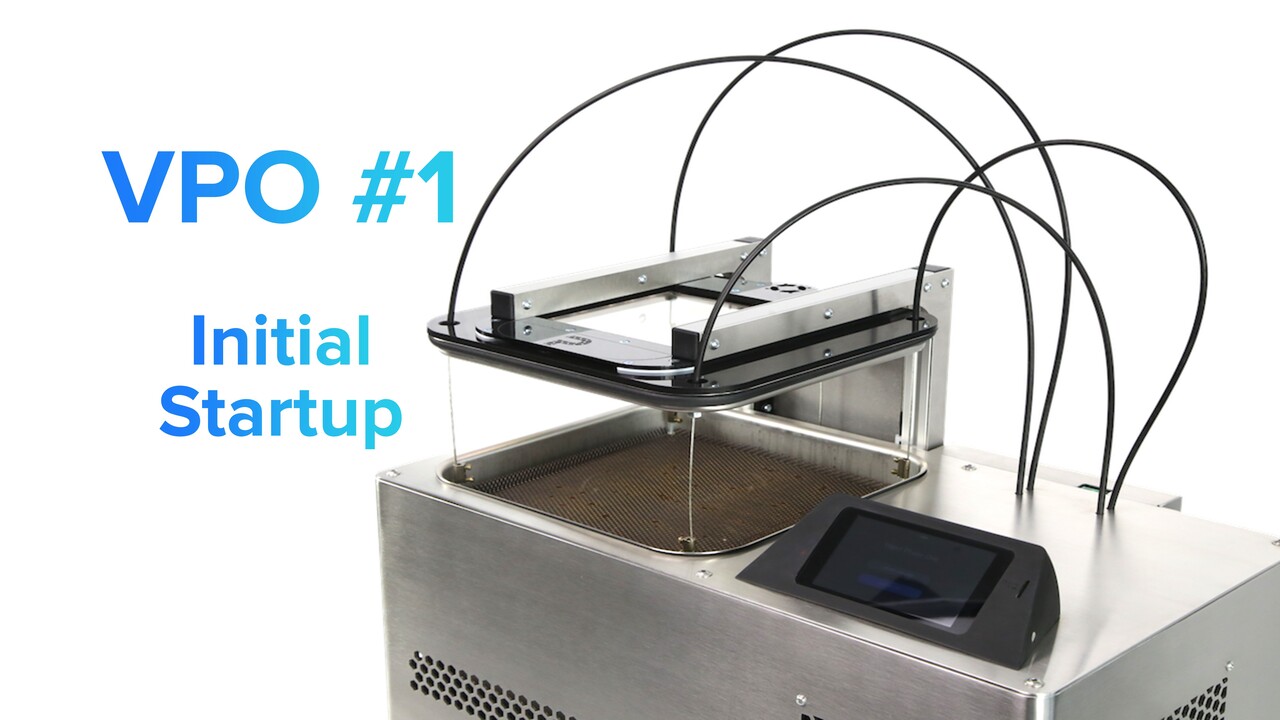
Remove the Vapor Phase One from the box, to do this, reach under the Vapor Phase One and never carry it by the Bowden cables sticking out the top. Place the Vapor Phase so that it has at least 20cm of space all around and is level. Also make sure that there is enough space upwards, as the Vapor Phase One automatically moves its lid upwards.
First start-up
1. Initializing the SD card
Remove the SD card from its packaging and insert it into your PC. Navigate to the Github repository of PCB Arts: https://github.com/PCB-Arts/vaporphaseone and download the initial soldering profiles. Load these soldering profiles (CSV files) under a folder named "profiles" on the SD card. Note: The "profiles" folder must be located in the root directory of the SD card:
SD Card/
├─ profiles/
│ ├─ GC10.csv
│ ├─ RTS.csv
│ ├─ custom.csv
You can now insert the SD card into the microSD slot of the Vapor Phase One, this can be found to the right of the display.
2. Initial filling of the cooling water
First unscrew the cover on the back of the Vapor Phase One using the Torx wrench and remove the four screws.
Remove the cover - now you can fill up the cooling system.
To fill up the system, use the filling nozzle, which is located above the hose on the back of the vapor phase. Take the enclosed funnel and fill the system at the filler neck initially with distilled water to the marked maximum. When filling up the cooling medium, loosen the filling level plastic hose of the upper angle to enable pressure equalization. After the system has been filled to the maximum, put the hose back into the plastic bracket.
The whole cooling system holds about 1.2 liters. During the initial filling, however, you cannot pour the whole volume in at once, because the cooling water still has to spread throughout the system and the air is circulated out of the system. This happens automatically during the first soldering cycles. Repeat this process after the first soldering cycles so that the cooling water system is completely filled.
3. Adjusting the Voltage Selector Switch
Since the Vapor Phase One is rated for 115V and 230V you can adjust this with a voltage selector switch. Here, the two 500W heating elements in the background are connected either in series or in series. Adjust the device only in the voltage-free state to the voltage you need for your country. Now plug the power cord into the Vapor Phase One and turn the unit on. An automatic calibration will take place.
4. initial filling with the soldering medium
Using the touchscreen, you can now swipe to the left and right to change the operating views. On the first operating view, you will see the "Open Lid" button, press this - the process lid will now open automatically. Now carefully fill the soldering medium into the process vat so that the filling quantity is between the minimum and maximum of the dipstick.
Now your Vapor Phase One is ready for operation, don't forget to refill the cooling water after the first few soldering cycles.
If there are any further questions, please feel free to email us at vpo@pcb-arts.com. We will take care of your request immediately.
Then we have nothing more to say than have fun with your new Vapor Phase One!