
Starting the Vapor Phase One
After the start-up has been successfully completed, this tutorial will go into how to operate the Vapor Phase in general. First, turn on the power switch of the Vapor Phase One. The calibration phase will begin, the lift and lid will be recalibrated by moving them to their limit switches. During this time the boot screen of the Vapor Phase soldering system appears.
Display - Views
The GUI consists of three different views: Process Control, Graphical Display and Settings. The views can be switched by swiping left and right.
Process control
In this view the process lid can be opened and the soldering profile can be started. These buttons are sometimes grayed out, clicking on these gray buttons will then show why they are disabled. This can have different reasons, these are shown in a pop-up.
Graphical representation
During the soldering profile, every second live the detected temperature at the PCB probe is shown in the display. The red line is the target profile and the blue line is the measured temperature. Above the graph you can see two different temperatures, the current cooling water temperature and the current temperature of the soldering medium.
Settings
In the settings, process parameters for the vapor phase soldering system can be set. Here also °C / °F can be changed, as well as the SD card can be mounted / re-mounted. In addition, the opening temperature of the lid can be set, so that the user of the Vapor Phase One can decide for himself at how many degrees Galden temperature the lid may be opened. Here the tradeoff between speed and galden loss is left to the user. The warmer the Galden temperature, the more steam is in the process vat, which can escape when the lid is opened. In laboratories with other staff, it is recommended to keep the opening temperature low at all times due to odor development.
- Eco: 70°C / 158°F
- Normal: 80°C / 176°F
- Fast: 90°C / 194°F
The last item that can be selected on this page is the soldering profiles. Here all .csv files are displayed, which are located on the SD card in the profiles/ folder.
Typical workflow with the Vapor Phase One
1. insert SD card with existing soldering profiles.
If you plug and unplug the SD card during operation, please use the "Mount" / "Eject" button on the settings page.
2. power on Vapor Phase One
If you are in countries with 115V supply you need to set the voltage selector switch to 115V, in countries with 230V supply set the selector switch to 230V accordingly.
3. check the galden & the cooling water level.
For proper and safe operation, the two levels are enormously important. Check them regularly, preferably before each soldering.
4. open the process chamber
The process chamber cannot be opened until the temperature of the galde is below 90°C.
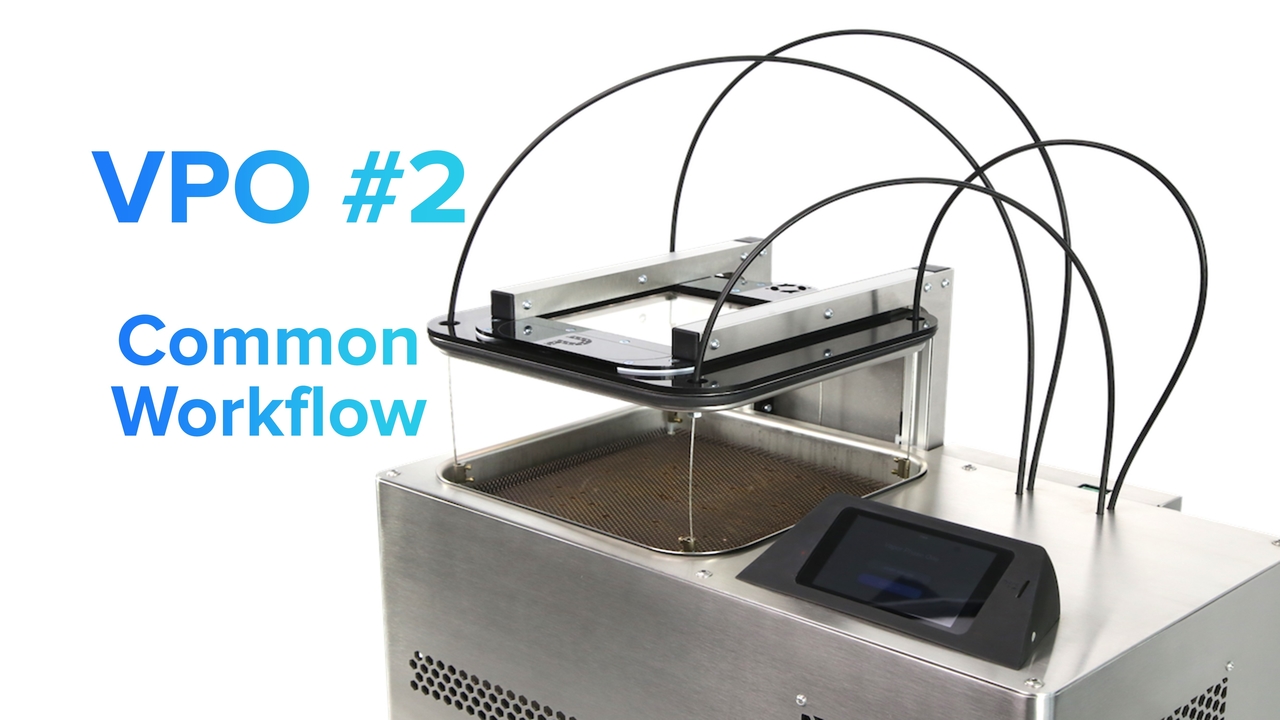
5. Place your assembled board into the process chamber.
6. Close the process chamber with "Close Lid" on the touch panel.
7. Select the soldering profile.
This will display all the CSV files that are in the /profiles folder on the SD card.
8. start the soldering profile via "Start Reflow" button at
9. The assembly now moves in the process chamber based on the soldering profile, you will get live data displayed every second in the graphical representation.
10. After the solder profile is finished, the "Open Lid" button will remain grayed out until the galden reaches the set "Open temperature" in the Settings Page.
11. you can now press "Open Lid" and remove the soldering material
Make sure that you work with gloves, because the board can still be very warm.